Data
Typical data sets may have following relationships between attributes and sizes.
Volume |
Voxels |
Size (char) |
Size (int) |
|---|---|---|---|
643 |
262,144 |
0.25 MB |
1 MB |
1283 |
2,097,152 |
2.00 MB |
8 MB |
2563 |
16,777,216 |
16.00 MB |
64 MB |
5123 |
134,217,728 |
128.00 MB |
512 MB |
10243 |
1,073,741,824 |
1,024.00 MB |
4096 MB |
Load data
In this section, loading methods for three data categories - single data file, stack of images, and raw data set - are introduced.
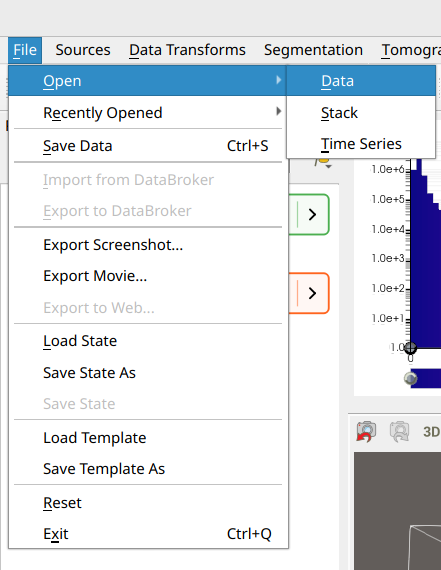
Single data file
Loading a single dataset is straightforward. Select Open > Data from the
File menu.
Tomviz supports the following file formats for reading:
Format |
Extensions |
Notes |
|---|---|---|
EMD |
|
Electron Microscopy Data format (HDF5-based) |
TIFF |
|
Including multi-file stacks |
MRC |
|
Electron microscopy format |
HDF5 |
|
Auto-detects DataExchange, FXI, HyperSpy, or generic |
DICOM |
|
Enhanced (single-file) DICOM only; classic multi-file DICOM is not yet supported (requires ITK) |
NumPy |
|
NumPy binary arrays |
MATLAB |
|
MATLAB v7.2 and earlier |
VTK ImageData |
|
VTK XML format |
Meta Image |
|
ITK Meta Image format |
XDMF |
|
XDMF/HDF5 composite |
Raw |
|
Requires dimension/type configuration |
Images |
|
Single image files |
OME-TIFF |
|
Multi-channel microscopy images |
Text |
|
Plain text arrays |
XYZ |
|
Molecule files |
Drag-and-drop
Data files can also be loaded by dragging them from the file manager and
dropping them onto the Tomviz application window. State files (.tvh5,
.tvsm) are recognized automatically and loaded as state rather than data.
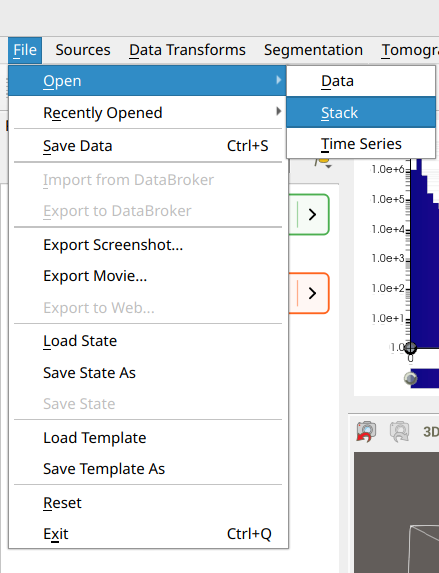
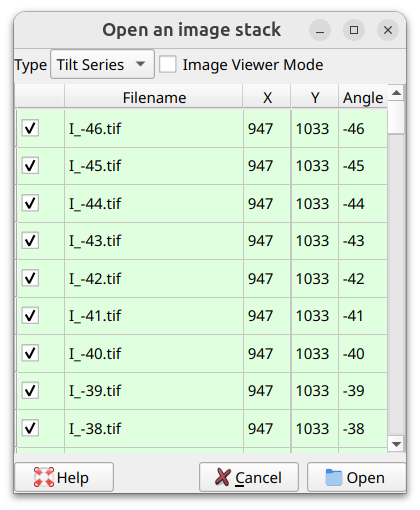
Image stacks
Loading image stacks takes a little bit more effort than loading a single data
file. After selecting Open > Stack from the File menu, check all the
images you would like to include in the pop-up dialog. You can also select the
data type (e.g. Tilt Series) and toggle Image Viewer Mode.
Time Series
Loading a time series is straightforward. Simply select Open > Time Series
from the File menu, and select a list of files to load. Each file is
considered to be one step in the time series. For more information about
editing, analyzing, and visualizing time series data, see
Time Series.
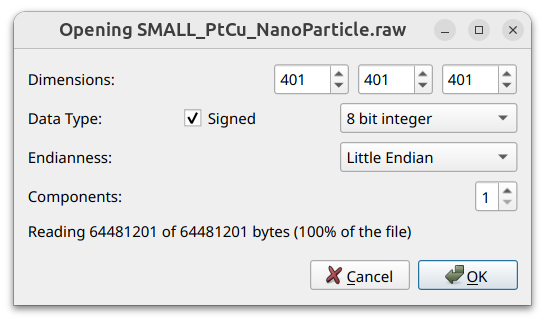
Reading a raw file
Users can also choose to read raw files by defining data dimensions, data type, endianness, and number of components, as indicated below.
HDF5 Formats
HDF5 Subsampling
Tomviz utilizes the hyperslab selection features of HDF5, so that HDF5 files may be read with subsampling.
When opening any kind of HDF5 file (includes EMD, Data Exchange, HyperSpy, or any generic HDF5 file), if any dimension of the dataset is 1200 voxels or larger, Tomviz will automatically show a “Pick Subsample” dialog. This dialog allows the user to specify volume bounds and strides (per-axis or uniform), and conveniently provides an estimated memory usage of the dataset at the bottom.
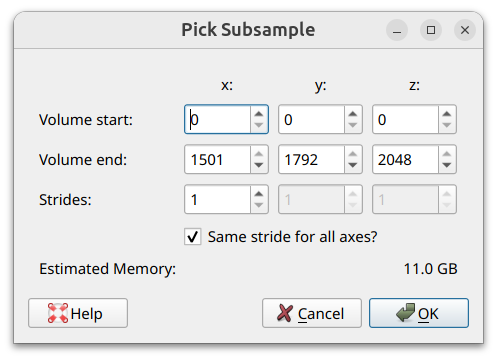
Once accepted, the dataset will immediately reload with the new subsample settings.
The subsample dialog will also appear if a user attempts to open a very large HDF5 dataset, so that the user may subsample the dataset before the initial reading.
EMD
Tomviz supports reading and writing both volumes and tilt series with the EMD format. For tilt series datasets, Tomviz expects the first axis to define the angles.
As an extension of the EMD format, Tomviz also supports writing multiple scalar arrays and reading them back in. The active scalar is always written as the “data” dataset in the EMD data group. All other scalars are written by name in a “tomviz_scalars” group in the EMD data group.
Data Exchange
Tomviz supports reading volumes from Scientific Data Exchange format files.
When opening an HDF5 file, Tomviz will check to see if a dataset exists in the path “/exchange/data”. If it does, the dataset will be loaded into Tomviz as a volume.
Volumes in Tomviz that are saved as a generic HDF5 file will be written in the Data Exchange format.
HyperSpy
Tomviz recognizes HyperSpy .hspy files as HDF5 and can load
three-dimensional datasets from them.
Generic HDF5 File
If an HDF5 file is opened that does not appear to be a format Tomviz recognizes, Tomviz will locate all three-dimensional datasets in the file. If only one three-dimensional dataset exists, Tomviz will load that dataset as a volume. If more than one exists, a dialog will appear asking the user to choose a dataset to load.
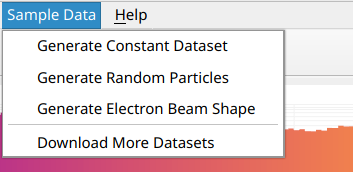
Data Generators
Tomviz includes built-in data generators that create synthetic datasets without
loading from files. These are available from the Sample Data menu:
Constant Dataset - Generates a 3D dataset filled with a constant value. Parameters: shape (default 100×100×100) and Value (the fill value).
Random Particles - Generates random 3D particles using a Fourier Noise method. Parameters: shape (up to 512³), internal complexity, particle size, and sparsity.
Electron Beam Shape - Generates a convergent electron beam in 3D for STEM imaging simulation, with full aberration parameters including beam energy, semi-convergence angle, pixel sizes, defocus range, spherical aberration, astigmatism, and coma.
When you select a data generator, a parameter dialog will appear. After configuring parameters and clicking OK, the dataset is generated and added to the pipeline with default visualizations.
These built-in generators are implemented using the Python SourceNode API. You can create your own source nodes that generate data from Python, using any installed third-party library - for example, downloading data from a web server or generating synthetic datasets with a custom algorithm.
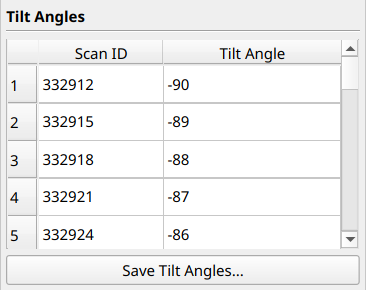
Scan IDs
Tomviz supports associating scan IDs with each image in a tilt series. Scan IDs are identifiers that track which experimental scan produced each projection image, and are particularly useful when working with synchrotron beamline data.
Viewing Scan IDs
Scan IDs are displayed alongside tilt angles in the Properties panel (bottom-left corner of the application). When a source with scan IDs is selected in the pipeline, the scan IDs appear in the properties table.
Setting Scan IDs
Scan IDs can be set in several ways:
From file - When loading tilt angles from a file via the “Set Tilt Angles” dialog, if the file contains a scan IDs column, it will be automatically imported alongside the angles.
From PyXRF source - Scan IDs are automatically extracted during the PyXRF source workflow.
From Ptycho source - Scan IDs are automatically extracted during the Ptycho source workflow.
Storage
Scan IDs are stored in EMD files under the /data/tomography/scan_ids path,
ensuring they persist across save/load cycles.
Python Access
Scan IDs can be accessed in Python operators via the dataset.scan_ids
property:
def transform(dataset):
    scan_ids = dataset.scan_ids
    # Use scan IDs for processing...
Saving Tilt Angles
Tilt angles can be saved to a text file directly from the Properties panel. This is useful for exporting the angles for use in external tools or for documentation purposes.
To save tilt angles, click the Save Tilt Angles... button below the tilt
angles table in the Properties panel. You will be prompted to choose a
filename and location for the .txt file.
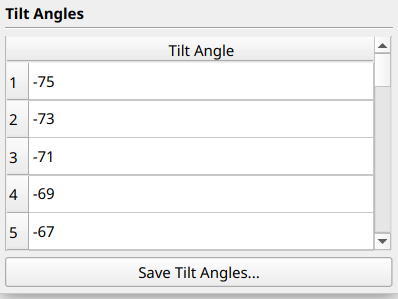
If scan IDs are also available and displayed, they will likewise be saved
to that .txt file, in the first column. The tilt angles will be present
in the second column.
Save results
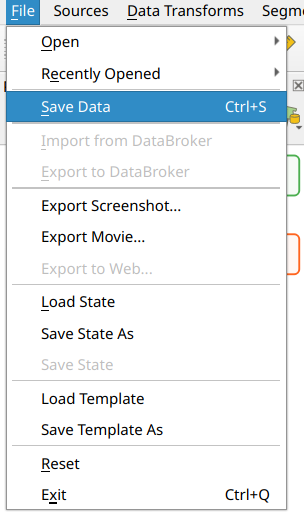
Save data
Users can save the data by clicking Save Data from the File menu, or
by using the keyboard shortcut Ctrl+S.
Tomviz supports the following file formats for writing:
Format |
Extensions |
Notes |
|---|---|---|
EMD |
|
Recommended - supports all Tomviz data types and units |
TIFF |
|
Widely supported; double data converted to float |
HDF5 |
|
Written in Data Exchange format |
MRC |
|
Electron microscopy format |
DICOM |
|
Enhanced (single-file) DICOM with tilt angle metadata |
NumPy |
|
NumPy binary arrays |
VTK ImageData |
|
VTK XML format |
Meta Image |
|
ITK format |
CSV |
|
Tabular data |
Legacy VTK |
|
Older VTK format |
XDMF |
|
XDMF/HDF5 composite |
Exodus II |
|
Finite element format |
We recommend EMD (HDF5 based) for saving data because it supports all the data types used in Tomviz and can save units in all three dimensions. TIFF is often the most versatile export format when sharing with other tools.
Save state
Similarly to saving data, users can save the state by clicking Save State As
from the File menu.
Once a state file has been saved or loaded, Save State can be used
to overwrite the same state file. For more information about the types
of state files, see below.
State files
Two types of state files are available in Tomviz:
Full state files (
.tvh5files)Light state files (
.tvsmfiles)
The full state files save both the state of the program and the data into a single file, which is in HDF5 format. Both input and output data are saved in the file, so that pipelines do not need to be re-run when the file is opened.
The light state files only save the state of the program, and they use relative file paths on the file system to load the input data. When a light state file is loaded, all of the pipelines are re-run to produce the output data.
Full state files are useful for moving the Tomviz state between file systems and computers. Light state files are useful for saving progress on a single computer.
Tomviz 3.0 uses a new state file format (schema version 2) that stores the full node-based pipeline graph. State files from previous versions of Tomviz are loaded via a legacy compatibility layer and automatically converted to the new format.
Recover and load state
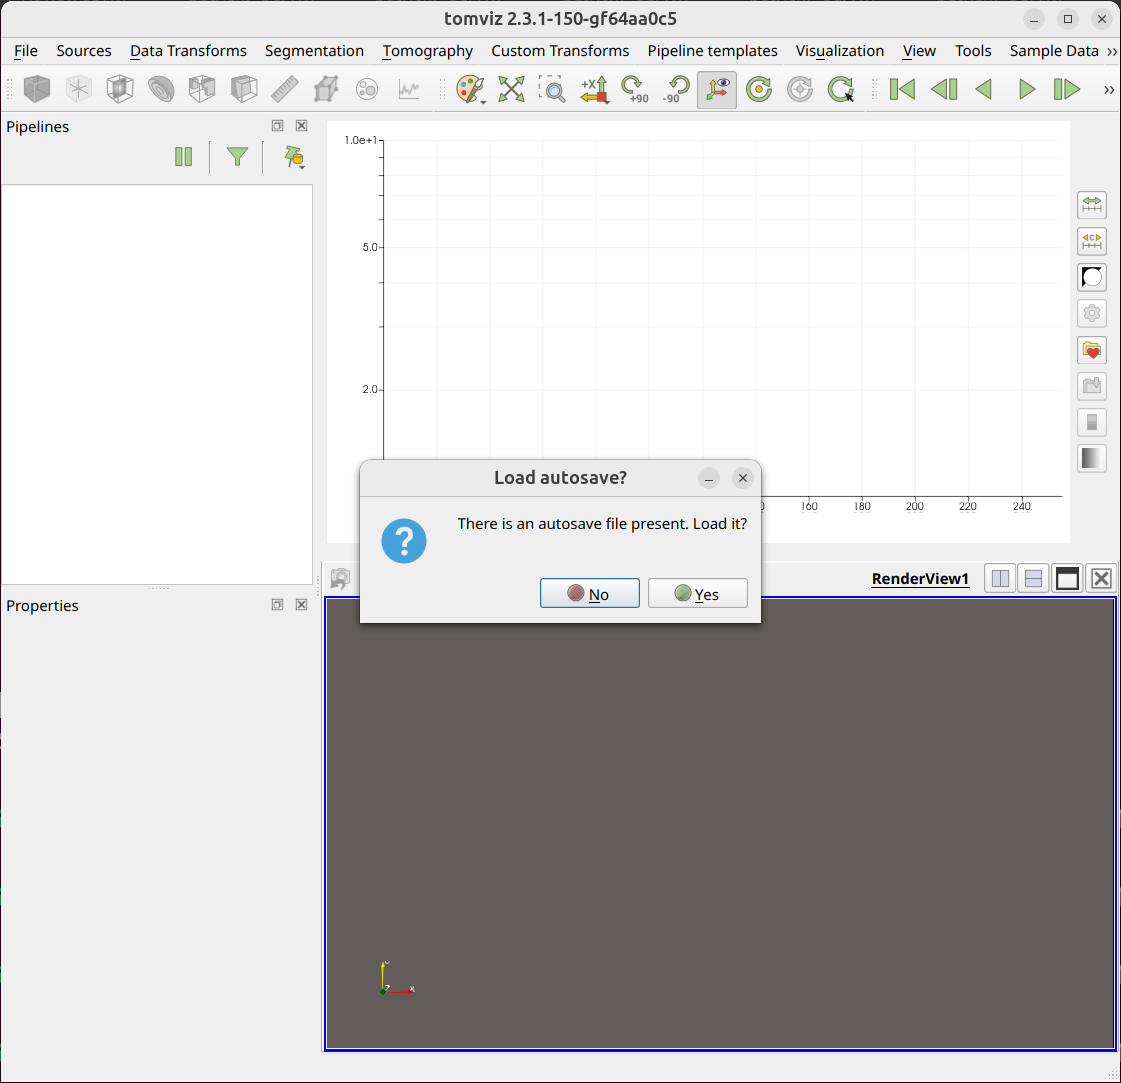
Recover state
Tomviz saves the pipeline every five minutes, users can recover the previous states by simply allowing Tomviz to load them.
Load state
When there is no prompt, users can manually load and recover previous states
by selecting Load State from File.
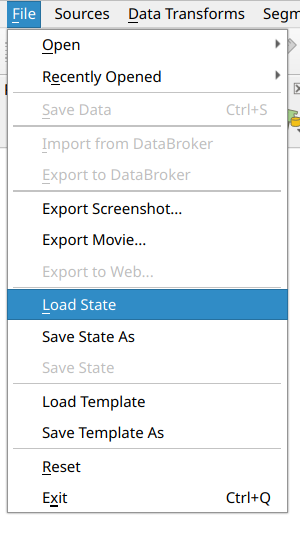
Both full state files and light state files may be loaded from this menu.
Once a state file has been loaded, it may be overwritten via
Save State. For more information about the types of state files,
see above.
Exporting Data
Resulting data can be exported by saving to standard formats, or by taking screenshots or animations of the render view.
For details on exporting visualizations (screenshots and movies), see the Exporting Visualizations section.