Development
Operators are the core of the data processing pipeline. They are predominantly written in Python, with some developed in C++. Most operators take a volume as an input, do some operations on that volume, and output a volume. In Python these are typically viewed as NumPy arrays where they are a view of the native C++ memory used by Tomviz.
Simple Operator
This operator can be found by clicking on Data Tansforms -> Custom Transform.
It is one of the simplest transforms possible where all simple operators define
the transform function, import the necessary modules, and then get the
data as an array. This array can be treated like any NumPy array, operated on,
and once ready the output should be set to make it visible to the application.
def transform(dataset):
    """Python operators that transforms the input array"""

    import numpy as np

    # Get the current volume as a numpy array.
    array = dataset.active_scalars

    # This is where you operate on your data, here we square root it.
    result = np.sqrt(array)

    # This is where the transformed data is set, it will display in tomviz.
    dataset.active_scalars = result
The dialog in Tomviz enables editing of Python transforms in the source tab, clicking apply will apply the code in the editor leaving the dialog open, clicking OK will apply the transform and close the dialog. The Python code is not saved permanently, saving a state file will save custom Python.
Subclassing tomviz.operators.Operator
Tomviz provides an operator base class that can be used to implement a Python
operator. To create an operator simply subclass and provide an implementation of
the transform method.
import tomviz.operators

class MyOperator(tomviz.operators.Operator):
    def transform(self, dataset):
        # Do work here
Subclassing tomviz.operators.CancelableOperator
To implement an operator that can be canceled the operator should be derived
from tomviz.operators.CancelableOperator. This provides an additional
property called canceled that can be used to determine if the operator
execution have been canceled by the user. The data should be processed in chunks
so that this property can be periodically checked to break out of the execution
if necessary.
import tomviz.operators

class MyCancelableOperator(tomviz.operators.CancelableOperator):
    def transform(self, dataset):
         while(not self.canceled):
            # Do work here
Operator progress
Instances of tomviz.operators.Operator have a progress attribute that can be
used to report the progress of an operator. The maximum number of steps the
operator will report is held in the progress.maximum property and the current
progress can be updated using progress.value = currrent_value. A status
message can also be set on the progress object to give further feedback to the
user progress.message = msg.
import tomviz.operators

class MyProgressOperator(tomviz.operators.Operator):
    current_progress = 0
    def transform(self, dataset):
        self.progress.maximum = 100
        # Do work here
        current_progress += 1
        self.progress.value = current_progress
Generating the user interface automatically
Python operators can take zero or more parameters that govern their operation. Initializing these parameter values is typically done through a dialog box presented prior to running the operator. The simplest way to define the user interface is to describe the parameters in a JSON file that accompanies the Python script.
The JSON file consists of a few key/value pairs at the top level of the JSON tree:
name- The name of the operator. The name should not contain spaces.label- The displayed name of the operator as it should appear in the user interface. No restrictions.description- Text that describes what the operator does. No restrictions.parameters- A JSON array of parameters.
An item in the parameter array is itself a JSON object consisting of several
name-value pairs.
name- The name of the parameter. This must be a valid Python variable name.label- The displayed name of the parameter in the user interface. No restrictions.type- Parameter type. Currently supported types are:bool- Boolean type. Valid values aretrueorfalse.int- Integral type. Valid values are in the range of a C integer.double- Floating-point type. Valid values are in the range of a C double.enumeration- Provides a set of options. Possible values are listed in anoptionskey/value pair (described below)xyz_header- Special type used as a hint for the UI to add the headers "X", "Y", and "Z" above columns for 3-element parameters representing coordinates.file- Provides the ability to browse for a file path.directory- Provides the ability to browse for a directory path.
default- Default value for the parameter. Must be a number or boolean JSON valuetrueorfalse. The default for a multi-elementintordoubleparameter is an array of one or more ints or doubles.minimum- Sets the minimum value that a parameter may be. An array of values specifies the component-wise minimum of a multi-element parameter.maximum- Like theminimum, but sets the maximum value that a parameter may be.precision- Optional number of digits past the decimal fordoubleparameters.options- An array of JSON objects, each of which contains a single key-value pair where the key is the name of the option and the value is an integer index of the options.
Examples of parameter descriptions:
bool
{
  "name" : "enable_valley_emphasis",
  "label" : "Enable Valley Emphasis",
  "type" : "bool",
  "default" : false
}
int
{
  "name" : "iterations",
  "label" : "Number of Iterations",
  "type" : "int",
  "default" : 100,
  "minimum" : 0
}
Multi-element int
{
  "name" : "shift",
  "label" : "Shift",
  "description" : "The shift to apply",
  "type" : "int",
  "default" : [0, 0, 0]
}
double
{
  "name" : "rotation_angle",
  "label" : "Angle",
  "description" : "Rotation angle in degrees.",
  "type" : "double",
  "default" : 90.0,
  "minimum" : -360.0,
  "maximum" : 360.0,
  "precision" : 1
}
Multi-element double
{
  "name" : "resampling_factor",
  "label" : "Resampling Factor",
  "type" : "double",
  "default" : [1, 1, 1]
}
enumeration
{
  "name" : "rotation_axis",
  "label" : "Axis",
  "description" : "Axis of rotation.",
  "type" : "enumeration",
  "default" : 0,
  "options" : [
    {"X" : 0},
    {"Y" : 1},
    {"Z" : 2}
  ]
}
Defining Operator Results and Child Data Sets
In addition to transforming the current data set, operators may produce additional data sets. The additional data sets are described in the top-level JSON with the following keys:
results- An array of JSON objects describing the outputs produced by the operator. Results are additional datasets produced when the operator is run. Result JSON objects have three key/value pairs:name- The name of the resultlabel- The displayed name of the result in the UI. More than one result may be produced by the operator.
children- An array of JSON objects describing child data sets produced by the operator. Child data sets are similar to results, but are special in that they must be image data to which additional operators may be applied. A child dataset is described with the same key/value pairs asresultsdatasets. Currently, only a single child data set is supported.
The name key of each result and child data set must be unique.
Creating Operator Results and Child Data Sets
In the operator Python code, results and child data sets are set in a dictionary
returned by the transform function. This dictionary consists of
key/value pairs where the name is the name value of the result or child
dataset and the value is the result or child dataset. Results and child
datasets are created in the Python operator code.
Command line execution of pipeline
An operator pipeline can be executed from a Python command line. The data source must be in EMD format. The execution is driven using a state file containing the operator pipeline. To install the command line package run the following:
pip install <tomviz_repo_directory>/tomviz/python/
tomviz-pipeline -s <path_to_state_file> -o <path_to_write_output_emd>
Current restrictions/issues:
- EMD data source only.
- Spacing and units are copied from input data source.
- No support for child data.
Custom Operators
Tomviz comes with a number of operators, many of which are developed in Python.
We welcome contributions to the code base, but sometimes it is preferable to
add local operators. On startup the application looks for a tomviz directory
as a folder in your home directory, if found that directory is scanned for
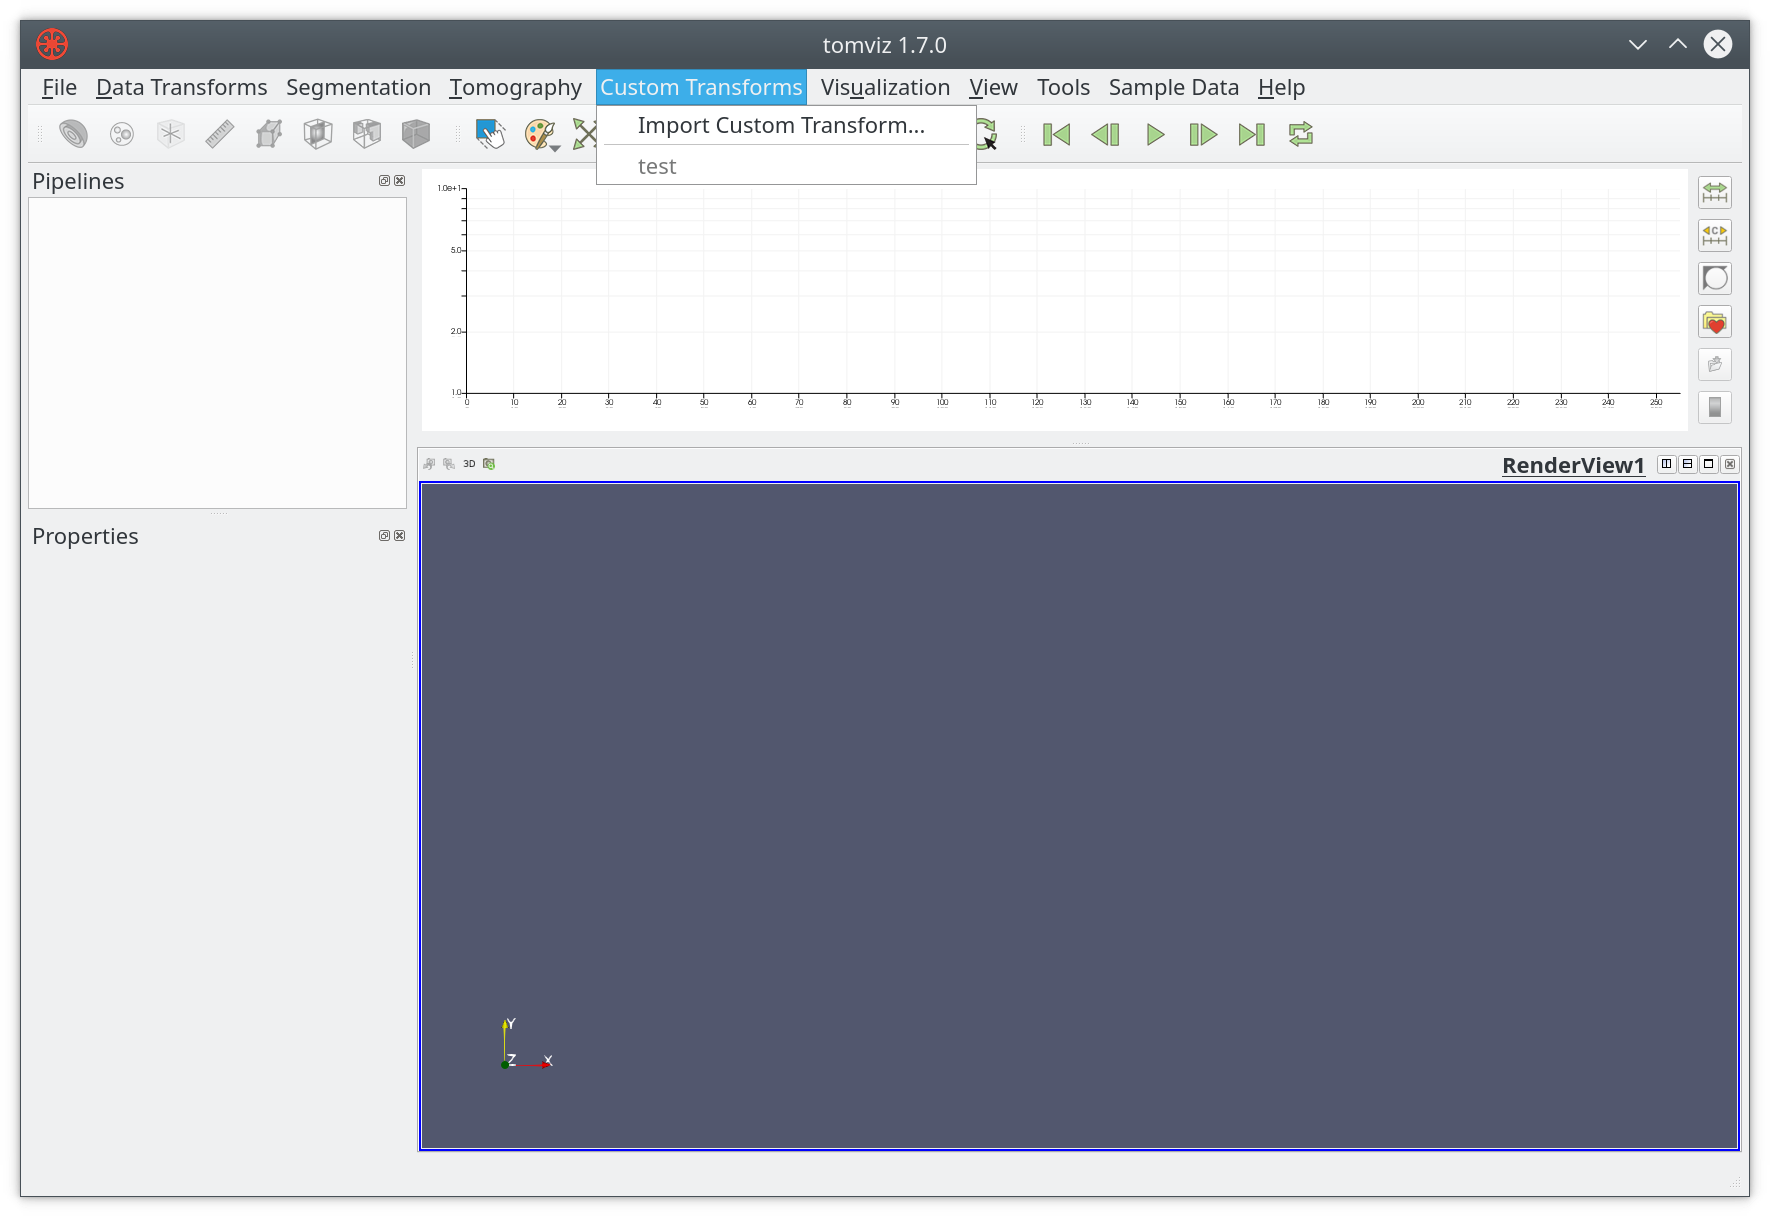
operators. These will be added to the Custom Transforms menu, and will look
just like builtin operators (empty menu shown below with option to import).

The default name will match that of the Python file, i.e. my_thing.py would
be added as my_thing to the menu. You should only import a transform once,
all this really does is add the Python file to the tomviz directory in your
home directory, i.e. ~/tomviz/my_thing.py. When developing a custom transform
it is preferable to simply copy your code to that directory, and edit it in
place. You will need to close and reopen Tomviz in order to see new changes.
If you add a JSON file with the same name you can customize the appearance further, and even add some input interface.
{
  "name" : "Custom Thing",
  "label" : "Operate on data",
  "description" : "Apply my special operation to the data...",
}
Import operators
After creating a custom operator, it can be added by importing it as a custom
transform, which can be accessed through Custom Transform menu.
In addition to importing the Python code, users can also copy the Python scripts
or JSON metadata into the ~/tomviz or ~/.tomviz directory.
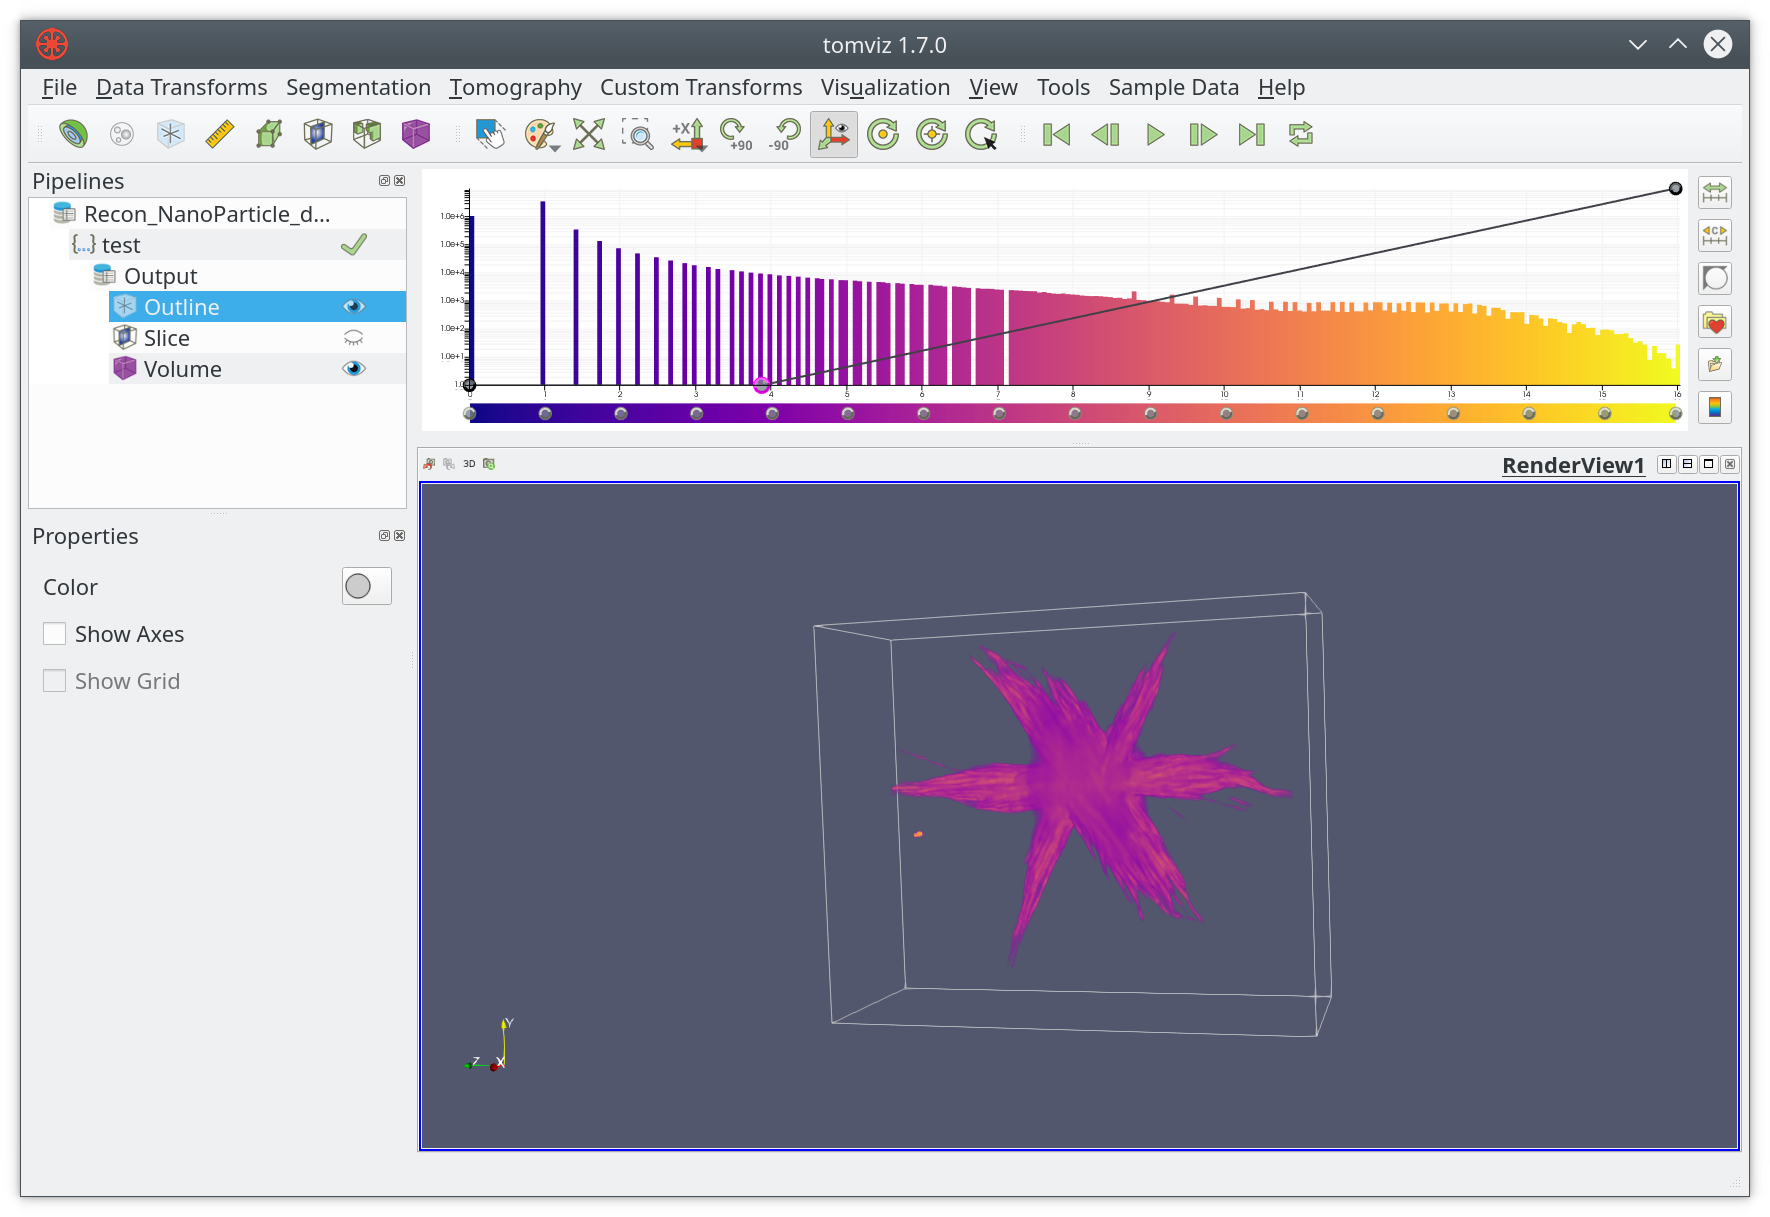
Apply operators
After importing or copying the customer operator test, it will show up in
the Custom Transform menu.
The test operator can be applied just like any other built-in operator.
After loading the example dataset, click on test, the result will be
displayed in the main render window.
User Input for Operators
Once you have a custom operator you may want to accept user input. For example
instead of hard-coding the chunk size in test we could let the user set it.
JSON metadata can specify what input a script accepts, and a Qt user interface
will be generated at runtime. An example of a single input is shown below:
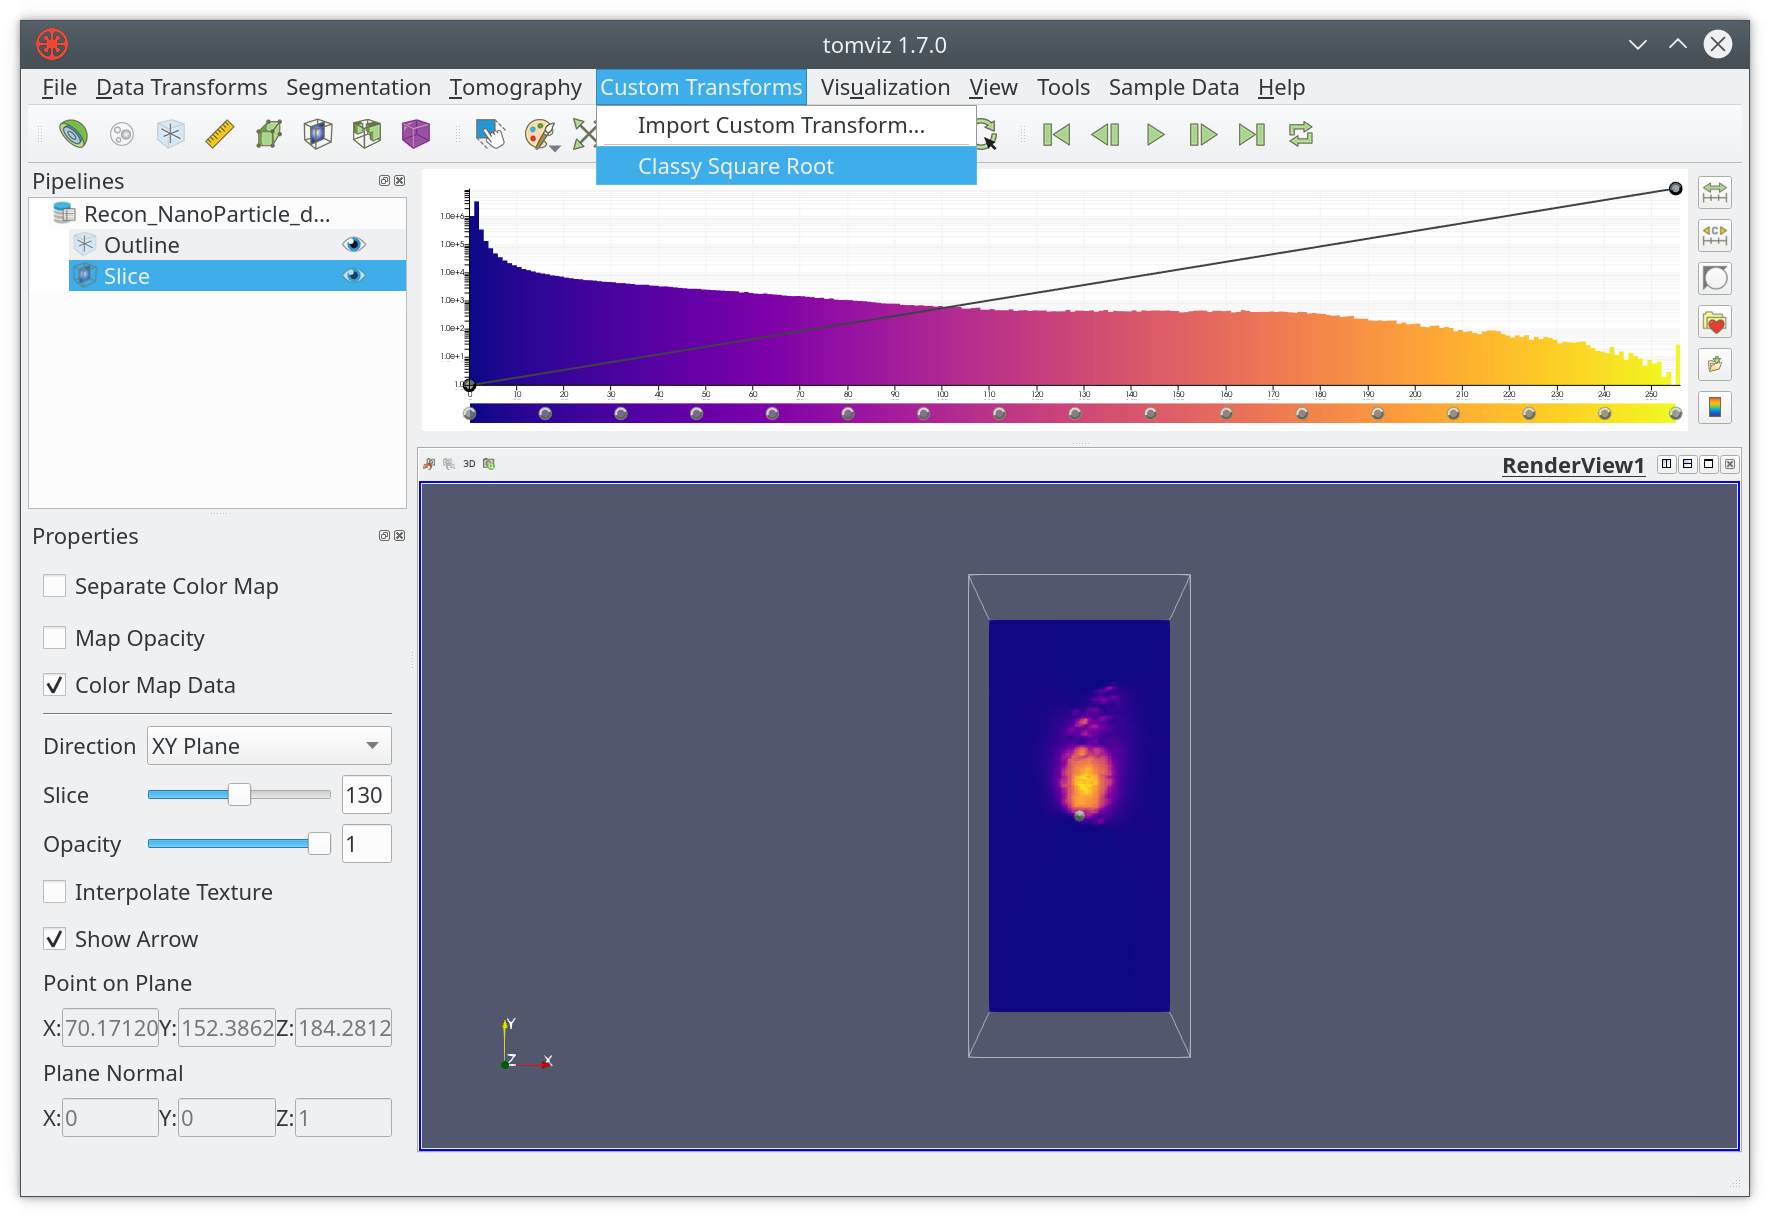
{
  "name": "Fancy Square Root",
  "label": "Classy Square Root",
  "description": "This is the fanciest square root operator, it does it all...",
  "parameters": [
    {
      "name": "number_of_chunks",
      "label": "Number of Chunks",
      "type": "int",
      "default": 10,
      "minimum": 1,
      "maximum": 1000
    }
  ]
}
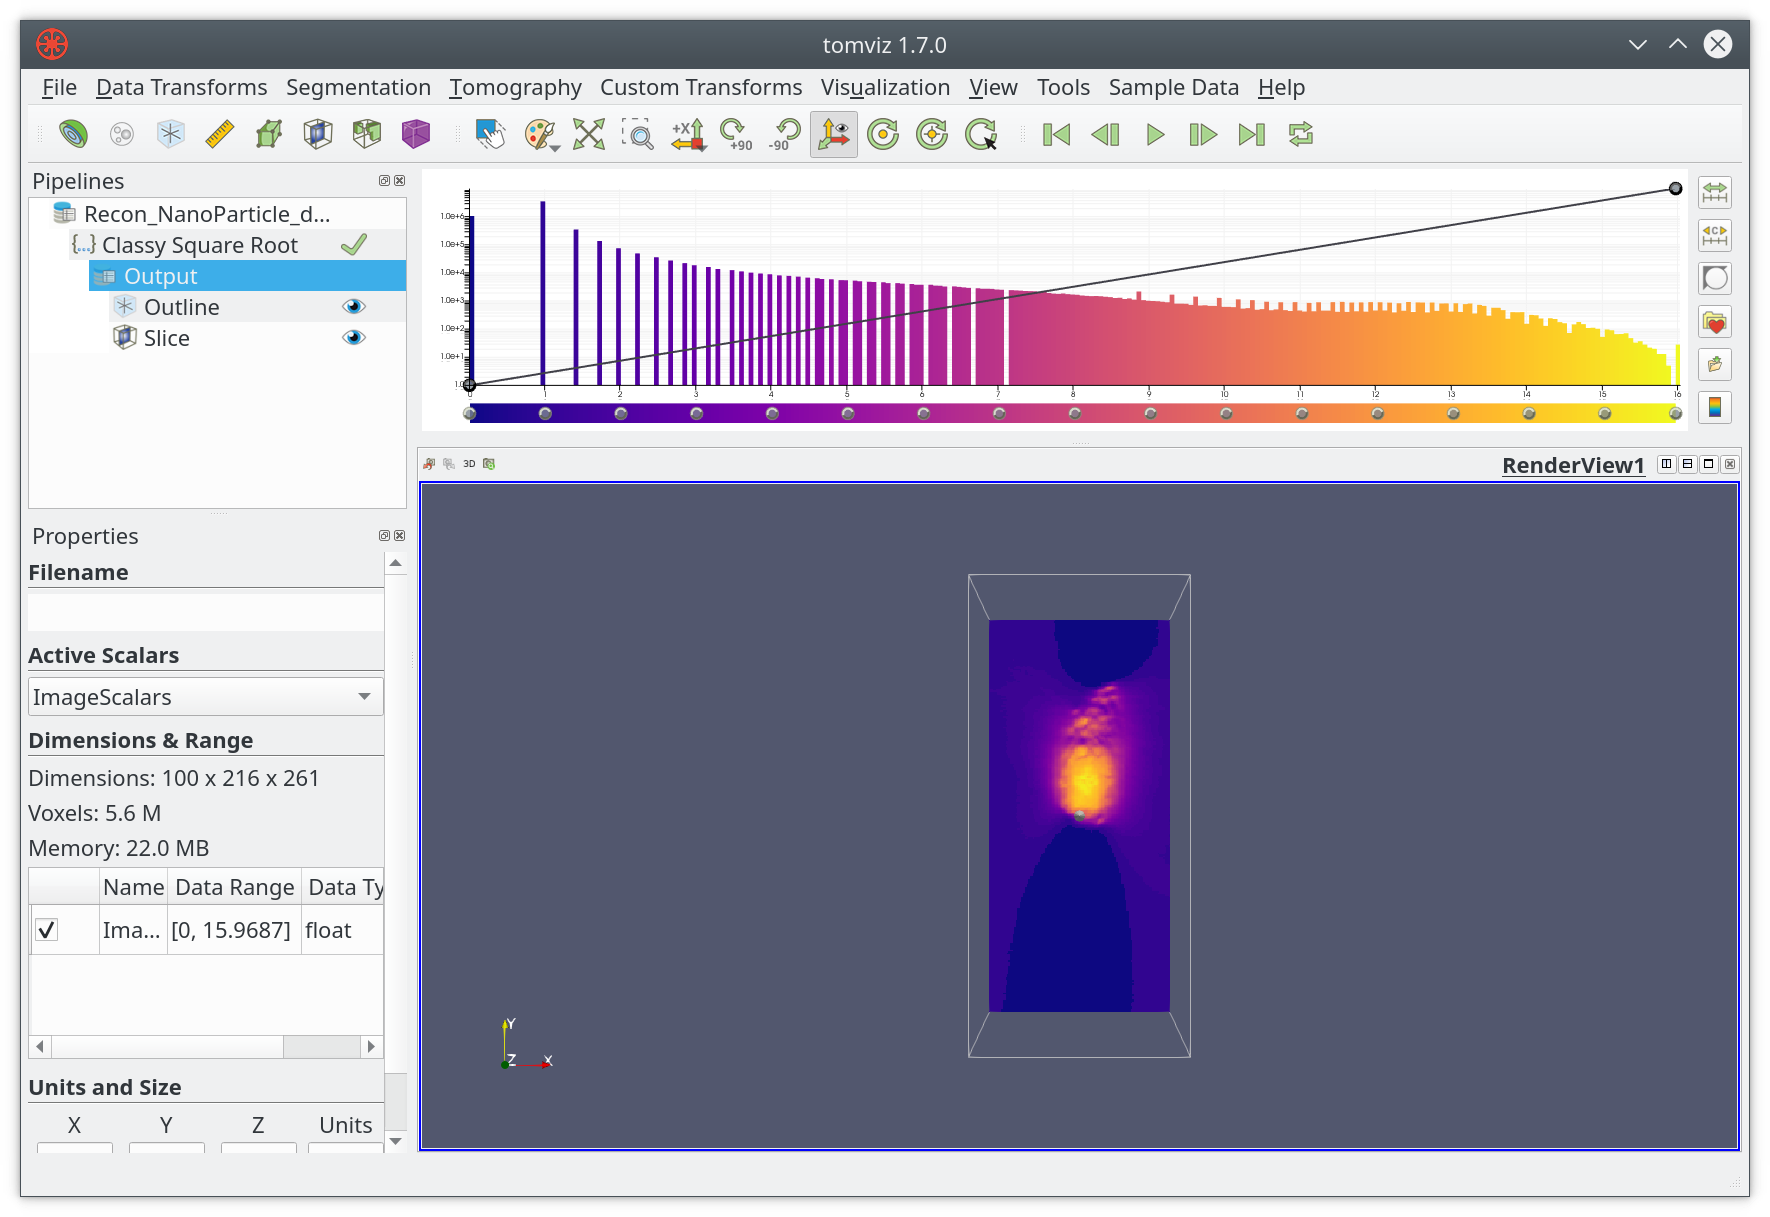
Now that you can run Classy Square Root from the Custom Transforms menu.
The interface is generated based on the objects in the parameters array. In
this case the input control for Number of Chunks is shown with a default
value of 10.
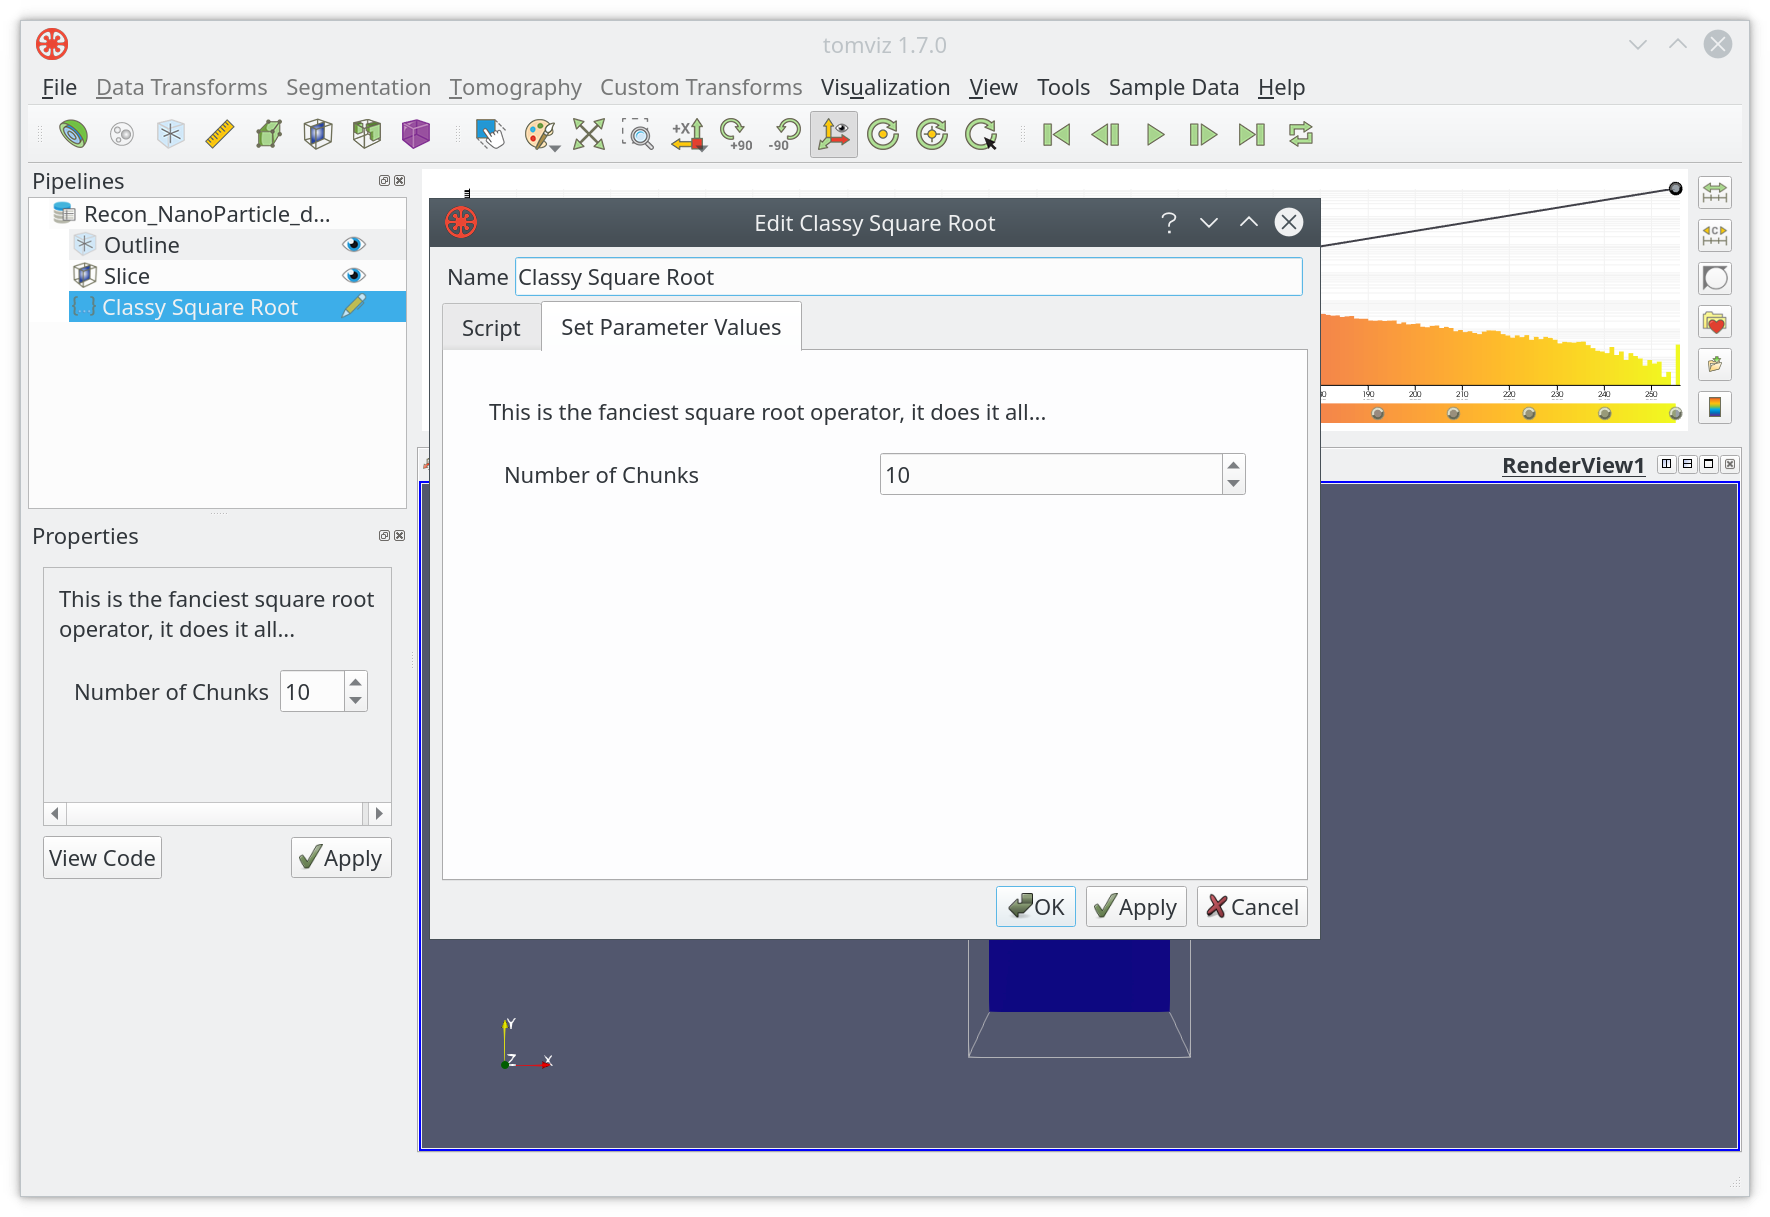
You can click on OK when ready, and the result will be displayed in the
application.
Accessing multiple channels
It is possible for a dataset to contain multiple channels. Operators can access
these channels by passing the channel name to the dataset.scalars()
function to specify the channel of interest.
In the example below, the channel named 'Tiff Scalars' is extracted from the dataset.
def transform(dataset):
    import numpy as np

    array = dataset.scalars(name='Tiff Scalars')
    dataset.active_scalars = array
It is also possible to iterate through the channels one at a time using the
dataset.scalars_names property along with the dataset.scalars() function.
The example below loops through the channels and sums them up. Note that the call
to dataset.active_scalars = ... will always update the active channel.
def transform(dataset):
    import numpy as np

    channel_sum = None
    # Iterate through the channels adding them up.
    for name in dataset.scalars_names:
        channel = dataset.scalars(name)
        if channel_sum is None:
            channel_sum = channel
        else:
            channel_sum += channel

    dataset.active_scalars = channel_sum